How to Install Cavity Wall Insulation in UK Homes
Learn how to assess your property for cavity wall insulation, understand install costs and standards, and choose an accredited installer for your home.
- Written by
- Net Zero Home Scheme editorial team
- Last updated
- Topic
- insulation, energy efficiency, energy bills
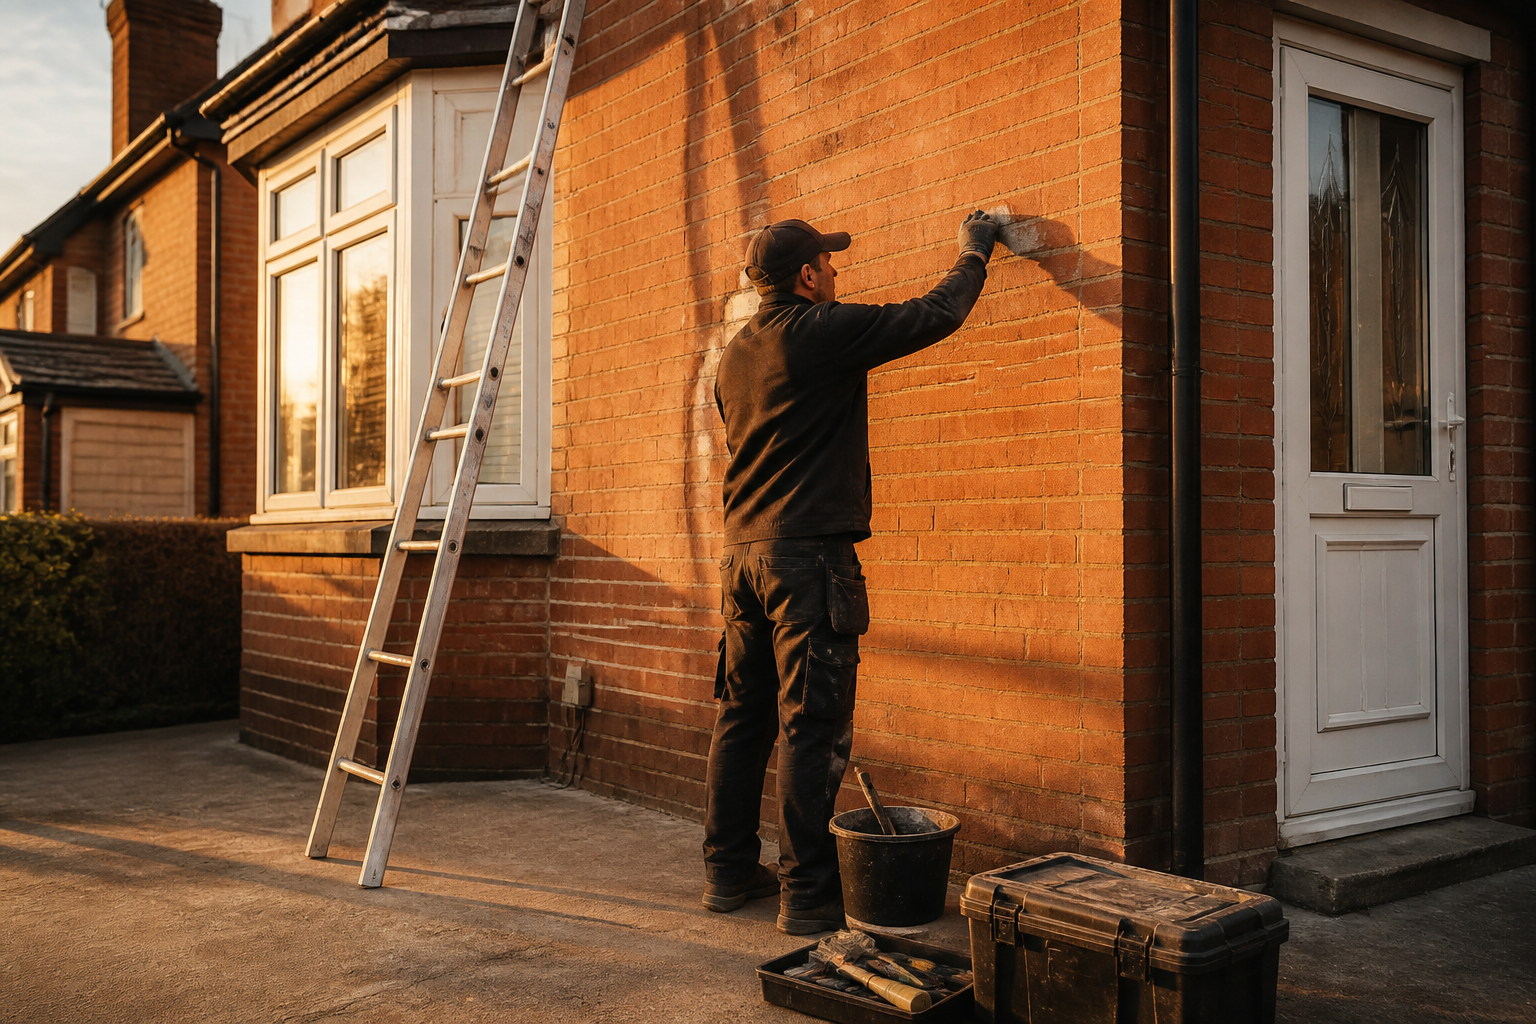
Installing cavity wall insulation remains one of the most effective ways to reduce heat loss in British homes built between the 1920s and late 1990s. According to the Energy Saving Trust, uninsulated external walls account for up to 35 percent of a property's total heat loss. While homes built after 1990 generally had insulation fitted during construction, millions of older properties across England, Scotland and Wales still feature unfilled cavity walls or degraded insulation material.
Taking a systematic approach to surveying, choosing materials and selecting an accredited installer ensures your home stays warm, avoids damp complications and delivers predictable bill savings over its lifetime.
What to check before installing cavity wall insulation
Before booking an installation, your property must satisfy several physical and structural criteria. Retrofitting cavity insulation into an unsuitable building can lead to damp penetration, cold bridging and internal plaster damage.
- Wall construction and cavity width: Your property must have twin masonry walls with a clear cavity gap of at least 50 millimetres. Homes constructed with timber frames, steel frames or solid brick masonry are generally unsuitable for blown cavity wall insulation.
- Outer wall condition: External brickwork, mortar and render must be in good repair. Cracked brickwork, defective mortar joints or damaged render allow rainwater to penetrate the outer leaf, which can saturate injected insulation material.
- Exposure to wind-driven rain: Properties located in exposed coastal or elevated regions face elevated rain exposure. According to British Standard BS 8104, homes in extreme exposure zones require specific water-repellent bonded bead materials or alternative external insulation.
- Existing damp and ventilation: Internal damp, condensation or timber decay must be investigated and resolved before work begins. Sub-floor air vents, chimney flues and wall vents must also be inspected to ensure insulation does not block essential airflow pathways.
Installation materials, process and timeline
The installation process is non-intrusive and usually completed within half a day for a standard property. Installers inject either bonded expanded polystyrene (EPS) beads or mineral wool fibre into the cavity through external mortar joints.
The four-stage installation timeline
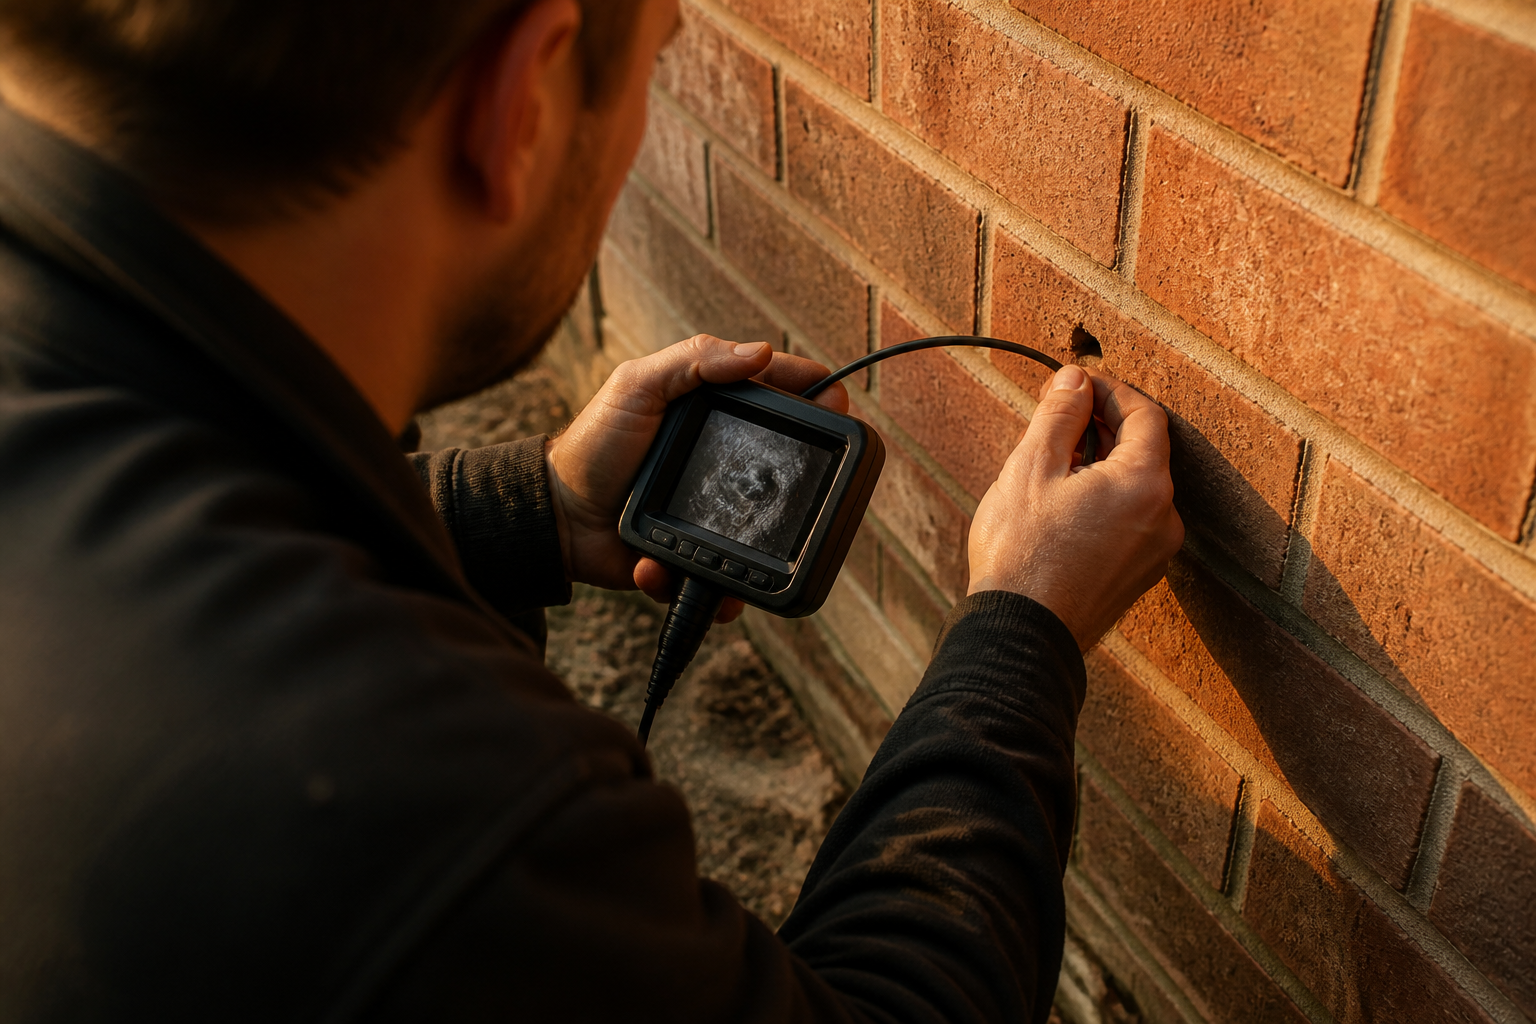
- Technical Survey (1 to 2 weeks prior): An accredited technician performs a borescope inspection by drilling small test holes into external mortar joints. They inspect the cavity for construction debris, wall tie condition and existing insulation.
- Site Preparation (Day 1, 30 minutes): On the day of installation, workers set up access equipment and locate all sub-floor air bricks and appliance flues to insert protective sleeves or airflow barriers.
- Material Injection (Day 1, 2 to 4 hours): A precise grid pattern of small holes, roughly 22 to 25 millimetres in diameter, is drilled through mortar joints across external walls. Compressed air pumps insulation material into the cavity until filled evenly.
- Making Good (Day 1, 1 hour): Drill holes are filled using mortar matched to the existing mortar colour and texture. The site is cleaned, ventilated and inspected before sign-off.
Costs, energy savings and key accreditations
According to figures published by the Energy Saving Trust, the cost of installing cavity wall insulation varies by property type and size, offering a rapid financial return compared to other structural retrofits.
| Property Type | Estimated Installation Cost | Estimated Annual Bill Savings | Carbon Saving per Year |
|---|---|---|---|
| Mid-terrace house | £1,000 to £1,200 | £180 to £220 | 450 kg CO2e |
| Semi-detached house | £1,400 to £1,800 | £270 to £330 | 650 kg CO2e |
| Detached house | £2,200 to £2,800 | £420 to £500 | 1,100 kg CO2e |
| Ground floor flat | £700 to £950 | £110 to £140 | 280 kg CO2e |
To ensure quality and protect your home, installation work must be carried out by an installer registered with recognised industry bodies. You should verify that your chosen company holds:
- TrustMark Registration: The Government-endorsed quality scheme confirming technical competence and adherence to PAS 2030 retrofit standards.
- Insulation Assurance Authority (IAA) or CIGA Registration: Guaranteeing that your installation receives a 25-year independent guarantee covering materials and workmanship against damp or structural defects.
- KIWA or BBA Product Certification: Confirming that injected materials meet British Agrément standards for thermal performance, settlement resistance and fire safety.
Questions to ask your installer
Before signing an installation agreement, ask your contractor these specific operational questions:
- Will you perform a comprehensive borescope survey of all elevations before commencing work?
- Which insulation material are you using, and is it certified for my local exposure zone under BS 8104?
- How will you protect existing sub-floor air vents and boiler flues during injection?
- Does your price include a 25-year guarantee backed by the Insulation Assurance Authority or CIGA?
- What mortar matching process do you follow to ensure filled injection holes are not visible after completion?
What this means for you
If your home was built between 1920 and 1990 and has uninsulated cavity walls, retrofitting cavity wall insulation is one of the most effective steps you can take to lower energy bills and improve home comfort. Arranging a survey with a TrustMark-registered installer will confirm your cavity width, mortar condition and ventilation setup before any commitment is made.
For UK householders evaluating broader home efficiency upgrades, combining structural insulation with low-carbon technology delivers optimal performance. Delivered by Net Zero Benefits alongside The Electric Car Scheme, the Net Zero Home Scheme gives UK employees access to member pricing on accredited solar, heat pump, battery storage and plug-in solar installations without salary sacrifice or payroll deduction.
Frequently asked questions
How do I check if my cavity walls are already insulated?
You can check your property's Energy Performance Certificate (EPC) on the official government register. Alternatively, look closely at external brickwork for a regular pattern of filled circular mortar holes, or ask a qualified surveyor to carry out a non-destructive borescope inspection.
Is cavity wall insulation safe for homes exposed to heavy rain?
In areas with high wind-driven rain exposure, standard mineral wool insulation can absorb moisture if outer brickwork is permeable. Bonded EPS beads coated with a water-repellent adhesive are preferred in exposed regions because they allow moisture to drain freely down the cavity while retaining thermal performance.
What happens if cavity wall insulation was installed incorrectly in the past?
If historical cavity insulation has broken down or absorbed water due to external wall defects, it can cause damp patches on internal walls. In these cases, specialist contractors must extract the damaged insulation using suction equipment before repairing outer brickwork and re-insulating if appropriate.
Sources
- Cavity Wall Insulation Guide, Energy Saving Trust
- TrustMark Quality Scheme, TrustMark
- IAA Framework and Guarantees, The Insulation Assurance Authority