In-Roof Solar PV Installation: Costs, Rules and Process
A practical UK guide to roof-integrated solar PV, covering MCS 012 compliance, ventilation rules, retrofit trade-offs, realistic costs, and key installer questions.
- Written by
- Net Zero Home Scheme editorial team
- Last updated
- Topic
- solar, mcs, home energy
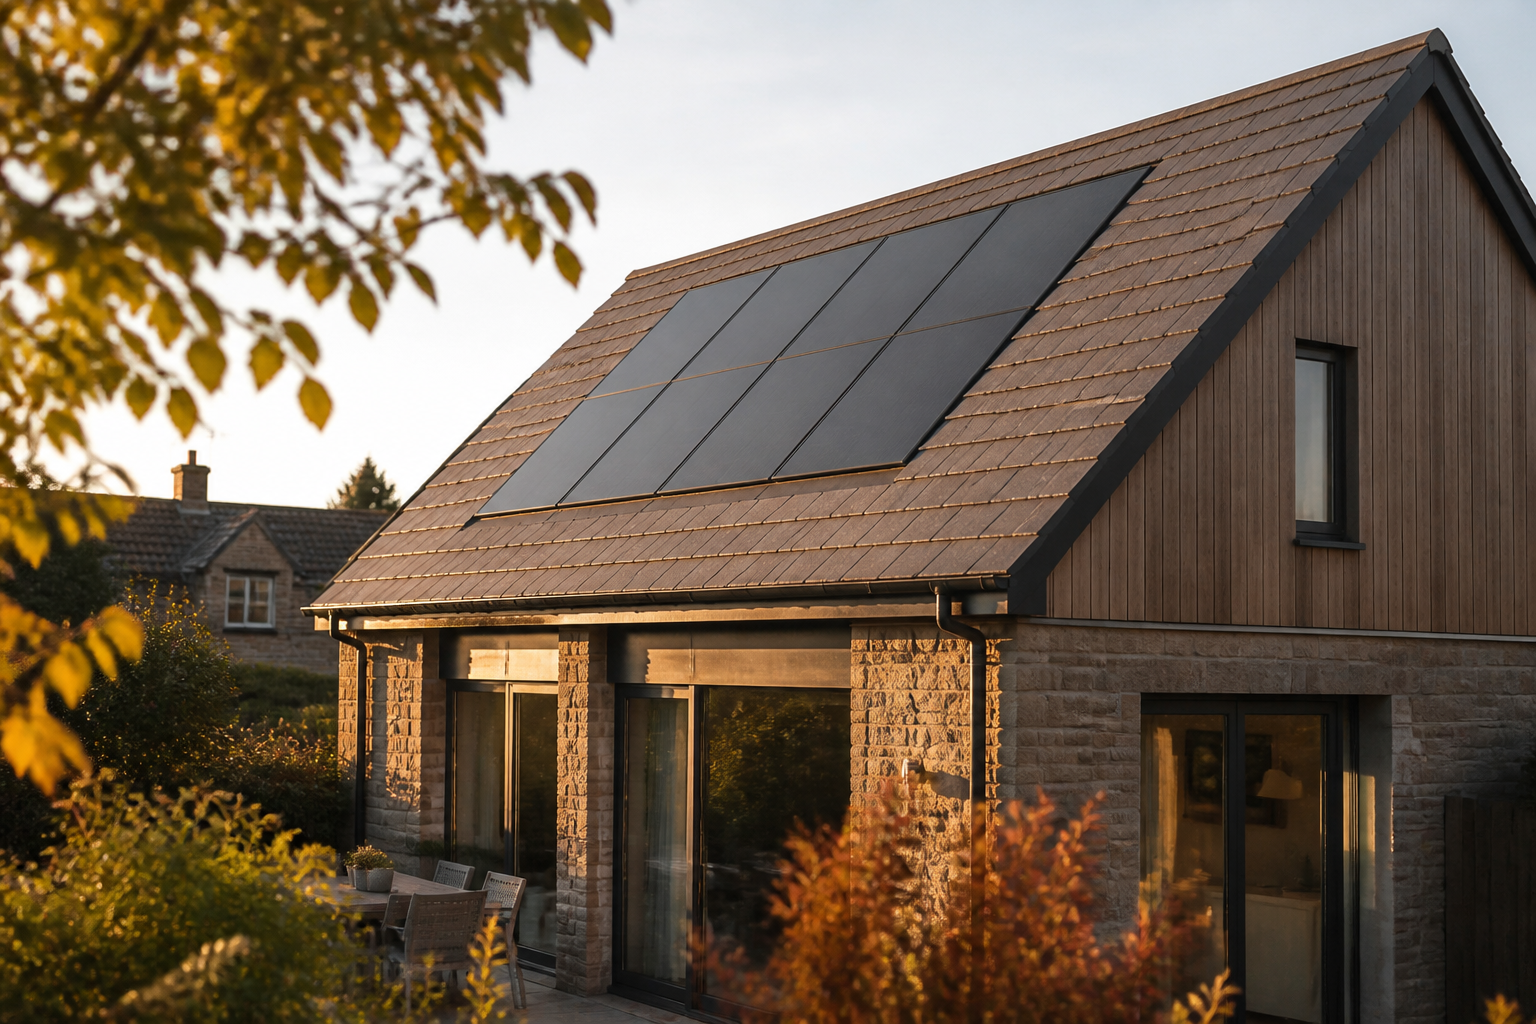
If you are planning to reroof your home, build an extension, or replace aging tiles, in-roof solar photovoltaic (PV) technology offers a streamlined alternative to traditional surface-mounted panels. Rather than clamping modules onto metal rails fixed above existing tiles, roof-integrated systems replace a section of the roof covering altogether. The solar modules sit directly on the timber tile battens, surrounded by weatherproof flashing trays that weave into the surrounding slate or tile matrix.
While in-roof systems are widely praised for their clean aesthetic, installing panels directly into the roof structure introduces specific structural, thermal, and regulatory requirements. Understanding how these systems differ from standard retrofits ensures you get a safe, weatherproof, and efficient installation.
What is in-roof solar PV and how does it work?
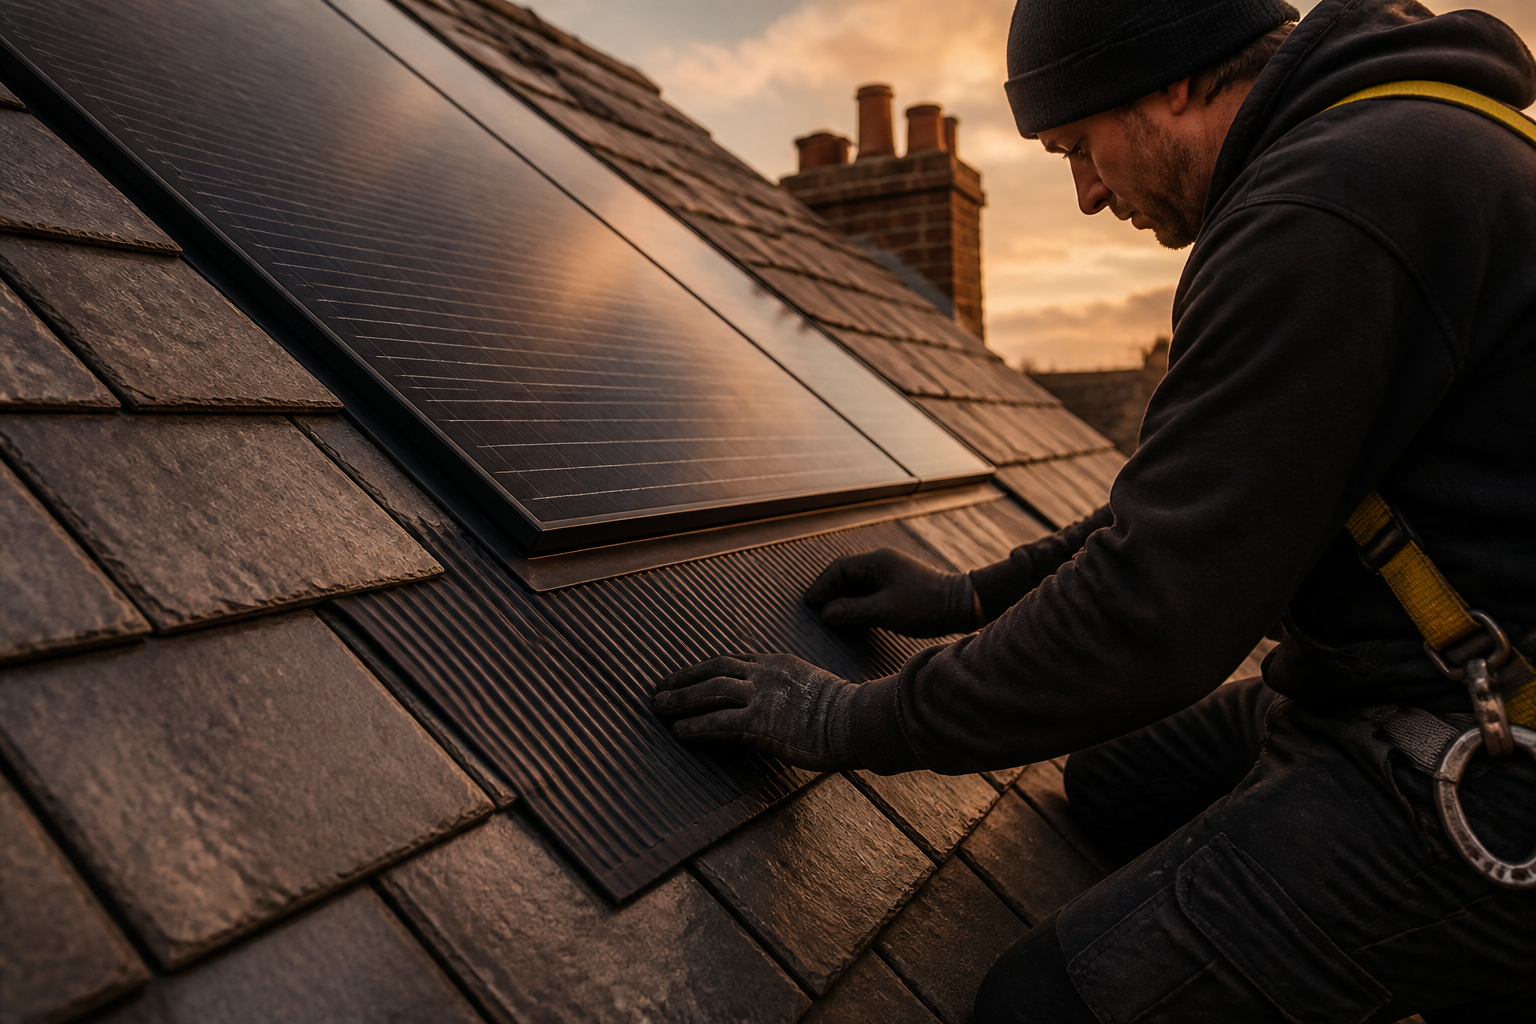
An in-roof solar PV system functions as both the primary weather barrier for the building envelope and an electricity generation system. During installation, the roofing contractor or solar installer leaves an opening in the main tile covering. A specialized mounting frame, made from durable plastic trays or aluminium extrusions, is fixed straight to the timber battens over a breathable roofing underlay.
Interlocking flashing kits surround the perimeter of the panel array. These flashings direct rainwater away from the joins and onto the adjacent tiles, mirroring the weatherproofing principle of a roof skylight. The solar modules sit inside this tray system, finishing flush with the surrounding roof line.
Because the rear of each module sits closer to the timber roof structure, airflow beneath the panels is naturally restricted compared to on-roof systems. Solar PV efficiency drops as silicon cells heat up. According to testing data published by the Energy Saving Trust, solar panels lose roughly 0.3% to 0.5% of their peak power output for every degree Celsius rise in operating temperature above 25°C. Providing an unobstructed ventilation pathway from the eaves to the ridge behind an integrated system is essential to prevent excessive thermal derating.
Key building regulations and accreditation standards
Installing panels inside the roof structure shifts the array from a simple building attachment to a core structural element. Consequently, compliance with UK building standards is strictly enforced.
First, the installation kit must be certified under the Microgeneration Certification Scheme (MCS) standard MCS 012. This standard evaluates weather tightness, resistance to wind uplift, and mechanical structural integrity under simulated UK storm conditions. Installers must fit the system strictly in line with the manufacturer test boundaries specified in the MCS 012 certificate.
Second, external fire spread rules under Building Regulations Part B apply directly. In-roof mounting systems must achieve an appropriate fire rating when tested to BS 476-3 or BS EN 13501-5 to prevent external flames from spreading into the roof timber structure. Roof-integrated mounting kits carry specific fire classifications that dictate how close the array can sit to a party wall or neighbouring boundary.
Third, electrical safety must comply with BS 7671 standards, and the installer must provide a Building Regulations compliance certificate upon completion. If the total export capacity of the inverter exceeds 3.68kW on a single-phase supply, your installer must secure prior approval from the Distribution Network Operator (DNO) under G99 regulations before turning the system on. Systems under 3.68kW require simple G98 notification within 28 days of commissioning.
Comparing in-roof and traditional on-roof solar
Choosing between an integrated array and a traditional surface-mounted system involves balancing aesthetic preference, building schedules, and thermal performance.
| Feature | In-Roof Solar PV | Traditional On-Roof Solar |
|---|---|---|
| Visual profile | Flush with surrounding roof tiles | Elevated 100mm to 150mm above tiles |
| Ideal project timing | Reroofing, new builds, or major repairs | Retrofit to existing, sound tile roofs |
| Material savings | Replaces tiles beneath the solar array | Requires full tiling underneath panels |
| Operating temperature | Higher thermal buildup behind modules | Superior airflow keeps modules cooler |
| Annual yield impact | 3% to 5% reduction due to heat retention | Baseline maximum generation efficiency |
| Wind uplift resistance | Exceptional low-profile aerodynamic design | Higher wind resistance on fixings |
Realistic costs and installation timelines
For a standard three-bedroom house requiring a 4kWp solar array, an in-roof system incurs hardware and labor costs distinct from standard retrofits. On an existing roof, retrofitting an in-roof array requires removing current tiles, storing or disposing of them, fitting the flashing kit, and trimming peripheral tiles to fit the array boundaries.
According to cost tracking by the Energy Saving Trust, an in-roof 4kWp installation on an existing roof carries a total cost premium of roughly 10% to 20% compared to an equivalent on-roof system. This extra cost reflects the higher price of integrated flashing kits and the additional skilled roofing labor required. However, if you are already replacing your entire roof, the material offset of not buying slate or concrete tiles for that section reduces this price gap significantly.
A typical installation timeline involves distinct phases:
- Structural assessment and initial design survey (1 to 2 weeks).
- DNO grid application process, if required for inverters larger than 3.68kW (2 to 6 weeks).
- Scaffolding erection and roof preparation work (1 day).
- Mounting tray installation, flashing integration, and module fitting (1 to 2 days).
- Internal wiring, inverter installation, and commissioning (1 day).
- Final certification, MCS registration, and handover documentation (1 week post-completion).
Essential questions to ask your solar installer
Before signing a contract for an in-roof solar installation, ask your chosen contractor the following specific questions:
- Is the mounting and flashing system certified under MCS 012 for the specific tile type on my roof?
- What fire classification rating does this integrated system achieve under BS EN 13501-5?
- How will you maintain the continuous ventilation path from the eaves to the ridge behind the integrated panels?
- Are both the solar electrical installation and the roofing works covered by a single accredited warranty?
- Will you handle the DNO G98 or G99 grid connection application on my behalf?
- Do you hold registration with TrustMark and an approved consumer code such as RECC or HIES?
What this means for you
In-roof solar PV offers a clean design for UK householders who prioritize aesthetics or who are already carrying out substantial roofing work. While thermal derating causes a minor efficiency penalty compared to elevated panels, high quality flashing kits and proper counter-batten ventilation maintain structural integrity and steady long term yield.
If your employer offers access to the Net Zero Home Scheme, delivered by Net Zero Benefits alongside The Electric Car Scheme, you can access member pricing on solar PV and battery storage systems fitted by accredited UK installers without any salary sacrifice or payroll deductions.
Frequently asked questions
Can in-roof solar panels be retrofitted to an existing tile roof?
Yes, in-roof panels can be retrofitted to an existing roof, but the process involves removing a section of your existing tiles, inspecting the underlying battens, and installing specialized perimeter flashing kits. Retrofitting involves higher labor costs than installing in-roof solar during a planned reroofing project.
Do in-roof solar panels increase fire risk on timber roofs?
When installed with MCS 012 certified mounting systems and compliant DC isolation, in-roof solar panels meet strict Building Regulations Part B safety standards. The certified mounting trays act as a protective barrier, and installations must adhere to specific separation distances near timber boundaries and party walls.
How does heat buildup behind in-roof panels affect annual energy yield?
Because air circulation behind flush-mounted modules is more constrained than on surface-mounted rails, in-roof panels operate at higher peak temperatures on sunny summer days. According to industry test figures, this reduced cooling leads to an estimated 3% to 5% drop in total annual kilowatt-hour generation compared to a well-ventilated on-roof array.
Sources
- Solar Panels Guide, Energy Saving Trust
- MCS Standards and Product Certification, Microgeneration Certification Scheme
- Building Regulations Part B: Fire Safety, UK Government HM Government