Installing Loft Insulation: A Practical UK Homeowner Guide
A practical guide to upgrading UK loft insulation to 270mm, covering cold versus warm roofs, safety rules, costs, installer standards and timelines.
- Written by
- Net Zero Home Scheme editorial team
- Last updated
- Topic
- insulation, energy efficiency, energy bills
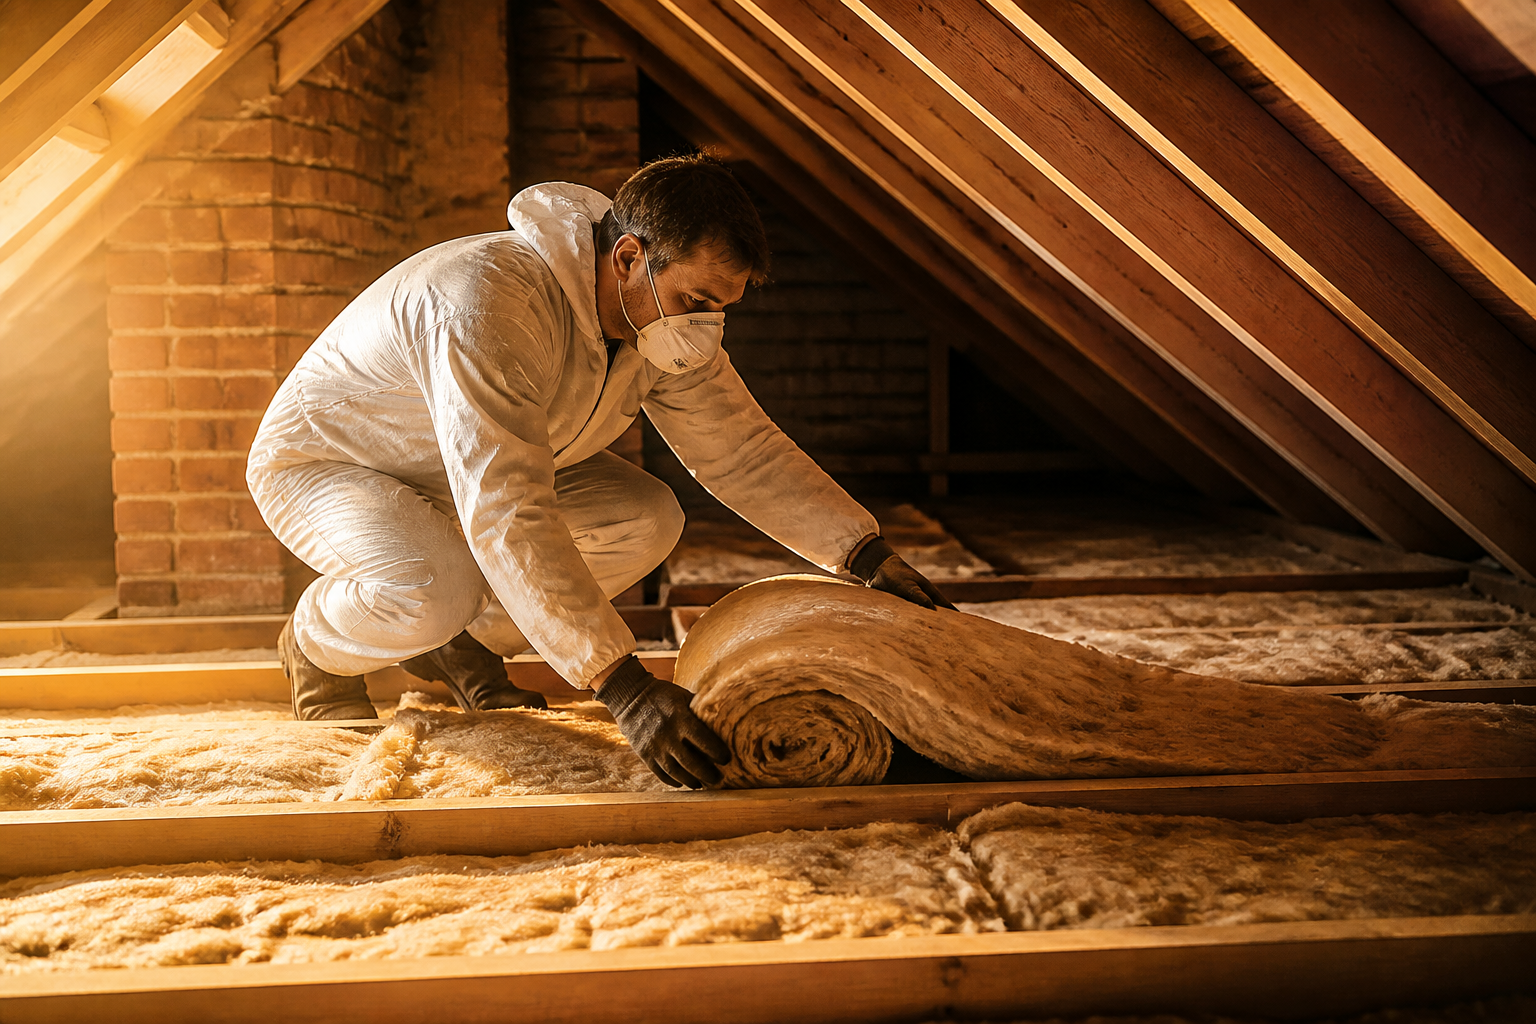
An uninsulated roof accounts for approximately 25 percent of heat loss in a typical UK home, according to data published by the Energy Saving Trust. Upgrading or topping up loft insulation is one of the most straightforward and cost-effective thermal improvements a householder can make. However, achieving energy savings without creating timber rot, condensation, or electrical hazards requires clear technical planning.
Building Regulations Approved Document L sets target thermal performance standards for residential roof retrofits across England and Wales. To achieve the standard U-value of 0.16 W/m²K or lower for a flat ceiling, mineral wool insulation typically needs to reach a total thickness of 270mm. Understanding how to reach this target safely requires evaluating your loft layout, roof architecture, and structural requirements.
Cold roof versus warm roof insulation
Before purchasing materials or hiring a contractor, you must decide whether your property requires a cold roof or warm roof specification. The distinction dictates where the thermal barrier sits and how the roof space behaves throughout the year.
A cold roof configuration places insulation horizontally over the joists on the loft floor. This keeps the living spaces below warm while leaving the loft space unheated and cold. Cold roof insulation is simple to install, relatively low-cost, and standard for homes where the loft is used purely for light storage or left empty. The primary trade-off is that the loft space experiences temperature extremes, requiring dedicated pipe and tank insulation to prevent winter freezing.
A warm roof configuration places rigid insulation boards or flexible batts directly along the pitch of the roof rafters. This encloses the entire loft space within the thermal envelope of the building. A warm roof is necessary if you intend to create a habitable loft conversion, house sensitive electronics, or maintain a warm, dry storage area. However, warm roof retrofits are significantly more expensive, require strict vapour control layers, and demand clear ventilation gaps between the insulation board and the roof tiles or sarking felt.
Key technical and safety checks before installation
Retrofitting loft insulation involves more than unrolling fiberglass blankets. Failing to address pre-existing building conditions can lead to damp structural timbers or fire safety risks.
Inspect the roof timber and felt for dampness, water staining, or rot before adding insulation. Adding insulation reduces heat transfer into the loft space, making the attic ceiling cooler. If moisture enters the cold roof space from leaking tiles or humid indoor air, it will condense on cold timber surfaces unless ventilation is preserved.
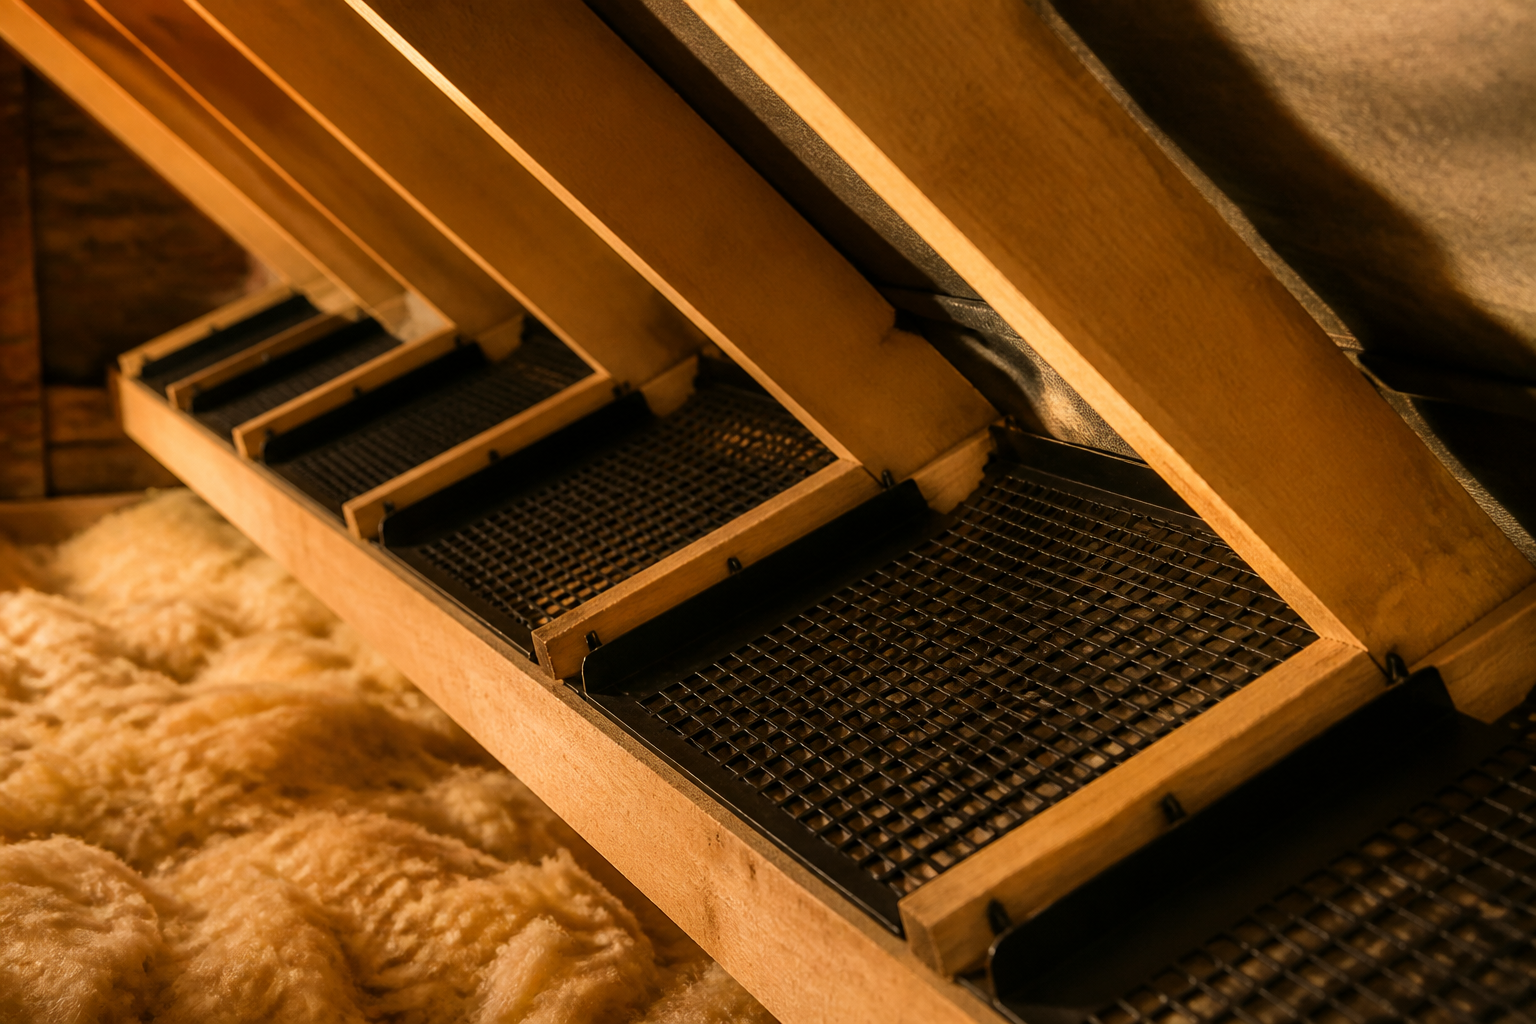
To prevent condensation, maintain an unobstructed ventilation path at the roof eaves. You must leave a continuous 50mm air gap between the insulation layer and the roof tiles at the eaves. Specially designed plastic eaves vents or rafters tray caps can be fitted between joists to maintain this airflow.
Electrical safety is another crucial detail governed by BS 7671 wiring standards. Heavy electrical cables, such as those powering electric showers, immersion heaters, or cookers, generate heat when under load. Covering these cables in thick mineral wool prevents heat from dissipating, which can melt cable insulation and create a fire hazard. Cables must be lifted and secured above the insulation layer, or derated by a qualified electrician.
Recessed downlights protruding into the loft floor from ceilings below also require attention. Standard halogen or LED downlights must not be buried directly under insulation roll due to overheating risks. Install fire-rated downlight covers or caps over each light fixture to maintain air tightness and thermal safety before laying insulation over them.
| Insulation Type | Recommended Thickness | Target U-value | Estimated Installed Cost | Typical Installation Time |
|---|---|---|---|---|
| Mineral Wool (Cold Roof) | 270mm | 0.16 W/m²K | £500 , £900 | 0.5 , 1 day |
| Rigid PIR Board (Warm Roof) | 100mm , 150mm | 0.18 W/m²K | £1,500 , £3,000 | 1 , 2 days |
| Loft Legs + Boarding | 270mm under deck | 0.16 W/m²K | £1,000 , £2,000 | 1 , 2 days |
Costs, materials, and project timelines
For a standard three-bedroom semi-detached house, unrolling DIY mineral wool insulation to top up existing 100mm insulation to 270mm typically costs between £300 and £500 in materials. Hiring a professional installer for a cold roof retrofit generally costs between £500 and £900, depending on loft accessibility, hatch size, and necessary preparations like clearance work or pipe lagging.
If you intend to use the loft for storage while maintaining 270mm of insulation, do not compress mineral wool blanket beneath standard floorboards. Compressing mineral wool from 270mm down to 100mm reduces its thermal performance by up to 50 percent because trapped air pockets are squashed. Instead, install specialized raised floor legs (often called loft legs) over joists to build a raised timber platform above the 270mm insulation layer.
A standard cold roof insulation job for a typical house takes a qualified two-person team between four hours and a single full day. Warm roof retrofits or raised loft boarding installations generally take between one and two working days.
What standards and accreditations to look for
When hiring an installer for loft insulation, check that the contractor is registered with TrustMark, the government-endorsed quality scheme for home improvements. TrustMark registration ensures the installer works to recognized consumer protection standards and technical criteria.
Look for installers certified under PAS 2030, which is the official UK specification for energy efficiency retrofits in domestic buildings. A PAS 2030 certified installer conducts thorough pre-installation building assessments, verifies ventilation rates, and provides official compliance documentation upon completion.
If your insulation work involves alteration to electrical wiring or downlights, ensure the tradesperson is registered with a competent person scheme such as NICEIC, NAPIT, or ELECSA.
What this means for you
Upgrading loft insulation is one of the most accessible steps toward reducing home heat loss and lowering winter heating demand. To execute the project successfully, follow a clear logical sequence:
- Measure existing loft insulation depth and inspect timbers for any evidence of dampness or roof leaks.
- Decide between a cold roof (cheaper, floor level insulation) and a warm roof (rafter level, suitable for habitable storage).
- Protect downlights using fire-rated caps and ensure high-power electrical cables sit above the insulation level.
- Install eaves ventilation trays to maintain a continuous 50mm airflow gap along the perimeter wall plates.
- Select a TrustMark or PAS 2030 accredited installer, or source materials that meet British Standard BS EN 13162 if completing DIY work.
If you are evaluating energy efficiency measures as part of a wider home upgrade, the Net Zero Home Scheme enables participating UK employers to offer their staff member pricing on accredited home renewables including heat pumps, solar panels, and battery storage systems.
Frequently asked questions
Can you compress mineral wool insulation under loft boards?
No, compressing mineral wool insulation reduces its thermal resistance. Mineral wool works by trapping still air within its glass or stone fibers. Squeezing a 270mm roll down to fit under standard ceiling joists removes these air pockets, significantly degrading its efficiency. Use raised loft legs to elevate deck boards above the required 270mm insulation height.
Do you need planning permission to insulate a loft in the UK?
In the vast majority of cases, insulating a loft falls under Permitted Development rights and does not require planning permission. However, if your home is a listed building or located within a designated conservation area, external appearance changes or structural alterings to timber frames may require formal approval from your local planning authority.
What happens if you block eaves ventilation when installing loft insulation?
Blocking eaves ventilation stops outdoor air from circulating through the loft space. Warm, moist air escaping from living rooms below becomes trapped in the cold roof cavity, condensing on cooler roof rafters and felt. Over time, this condensation leads to mold growth, wet rot in structural timbers, and damaged ceiling plasterwork.
Sources
- Roof and Loft Insulation Guide, Energy Saving Trust
- Approved Document L: Conservation of fuel and power, HM Government
- PAS 2030 Retrofit Installation Standard, TrustMark